 |
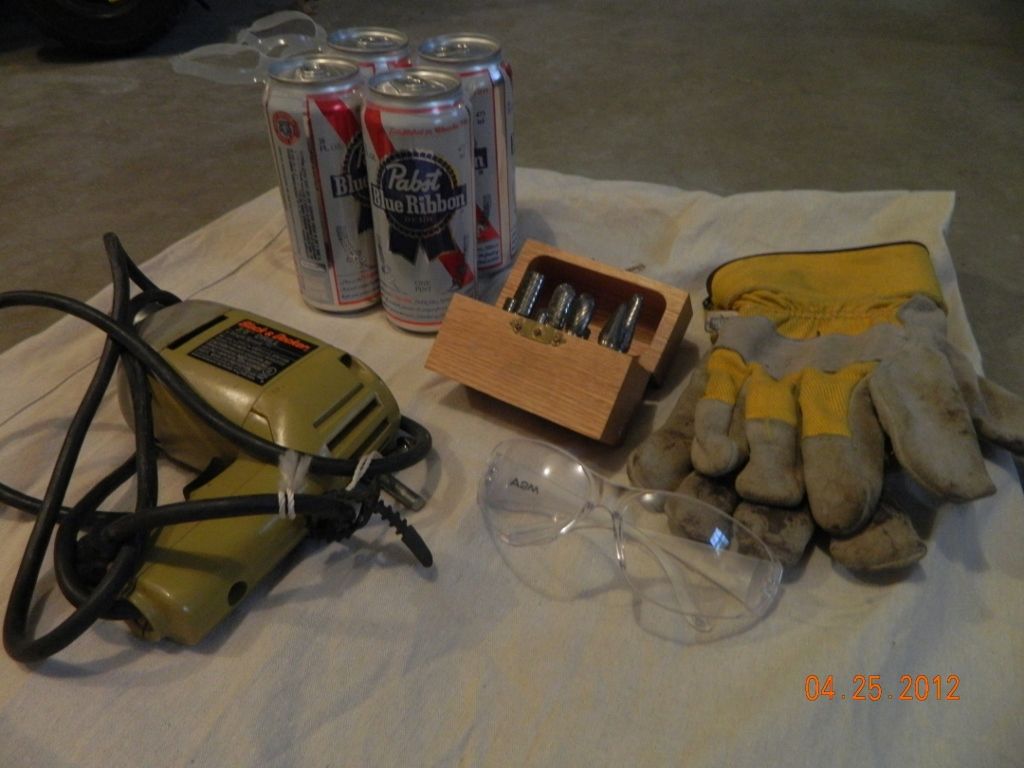
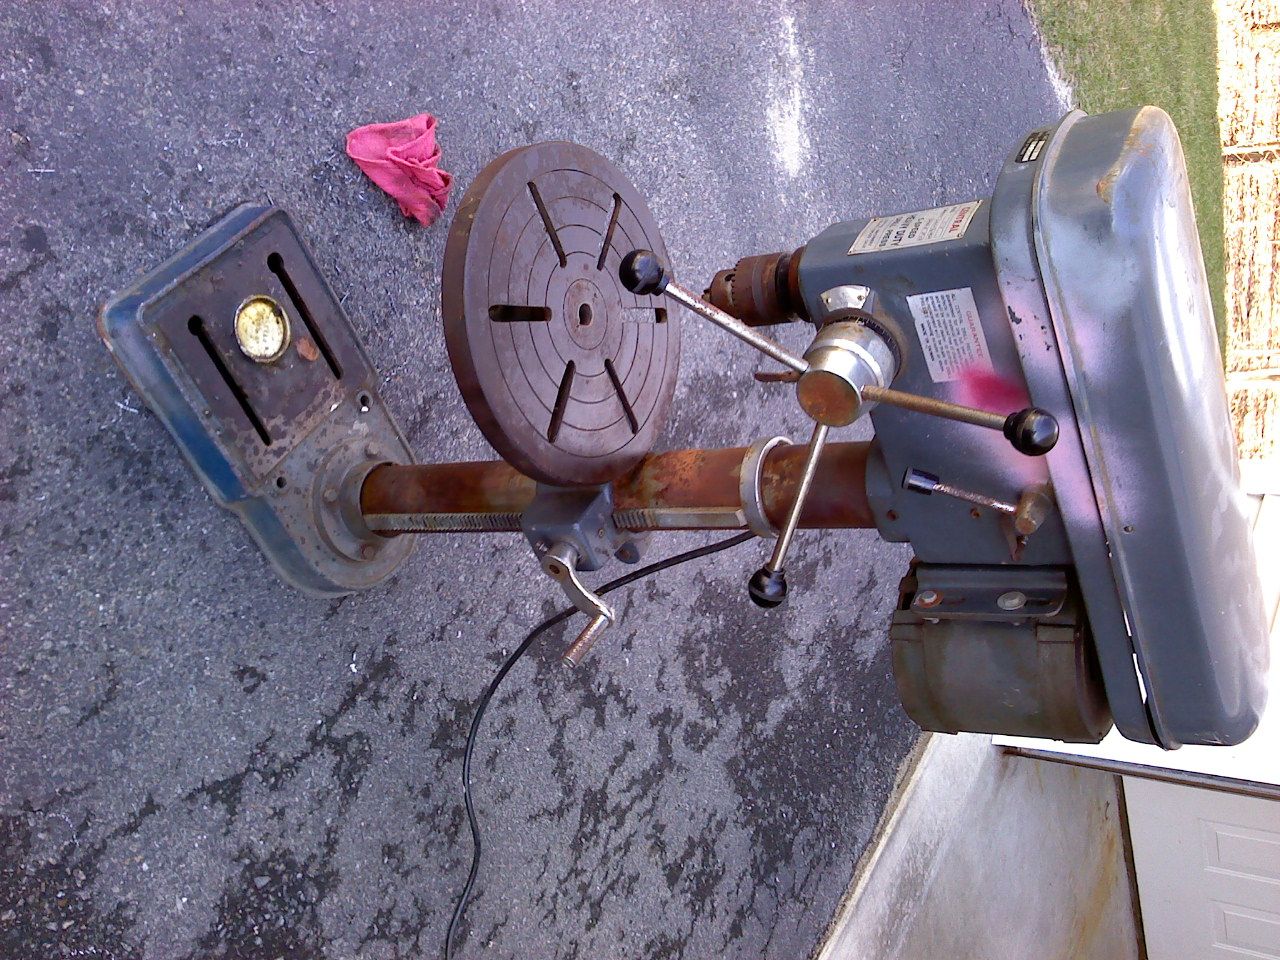
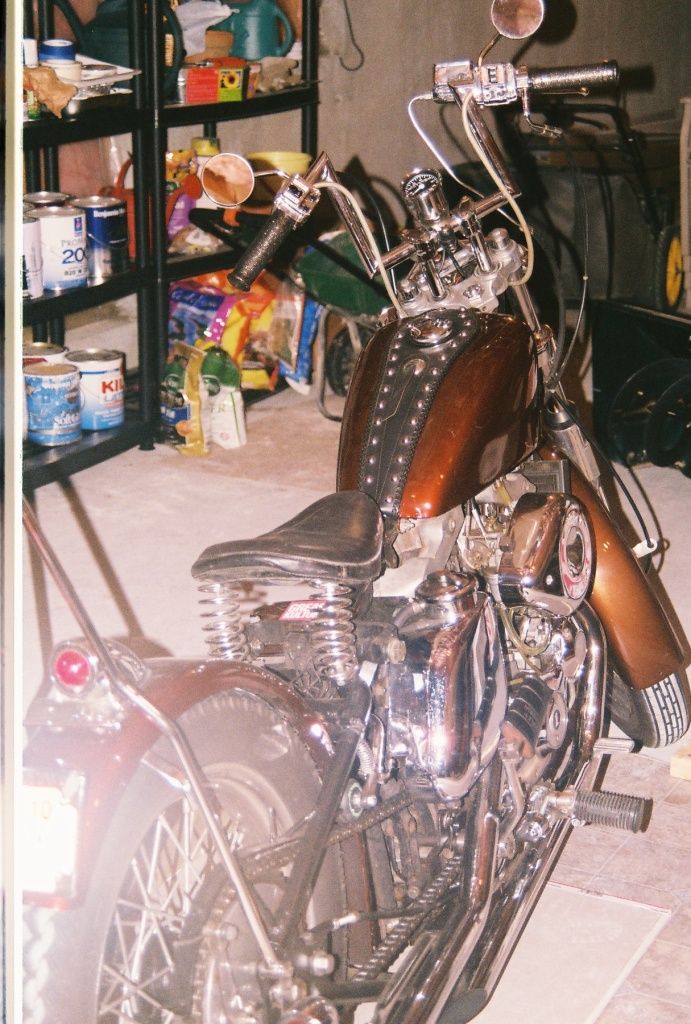
| Drink 2 PBRs prior to grinding |
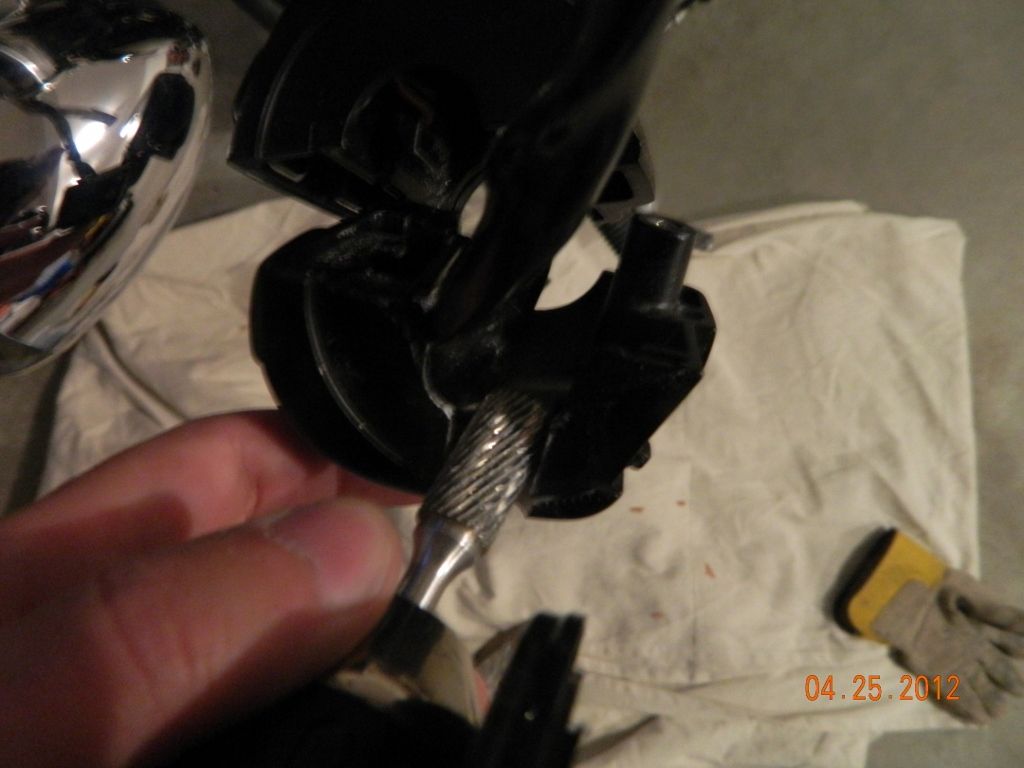 |
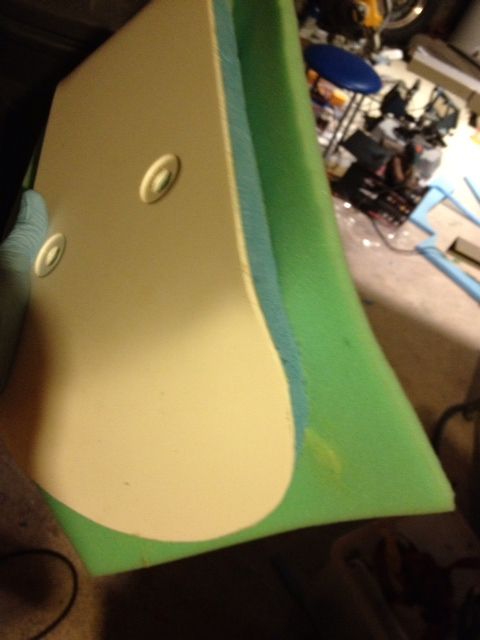
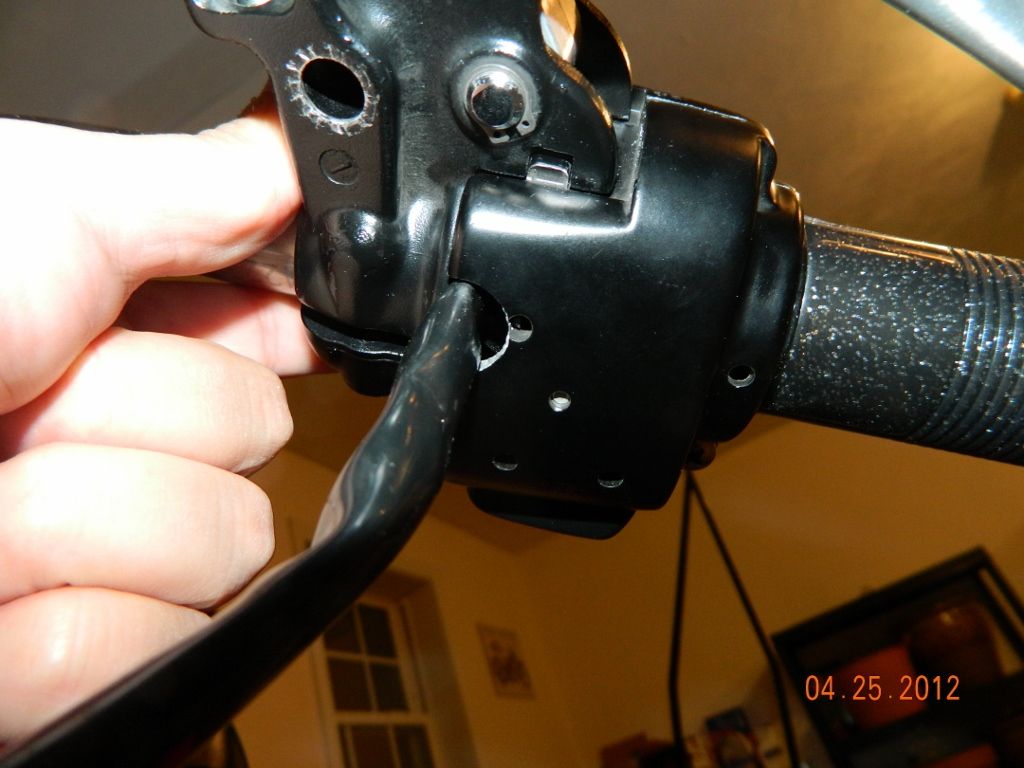
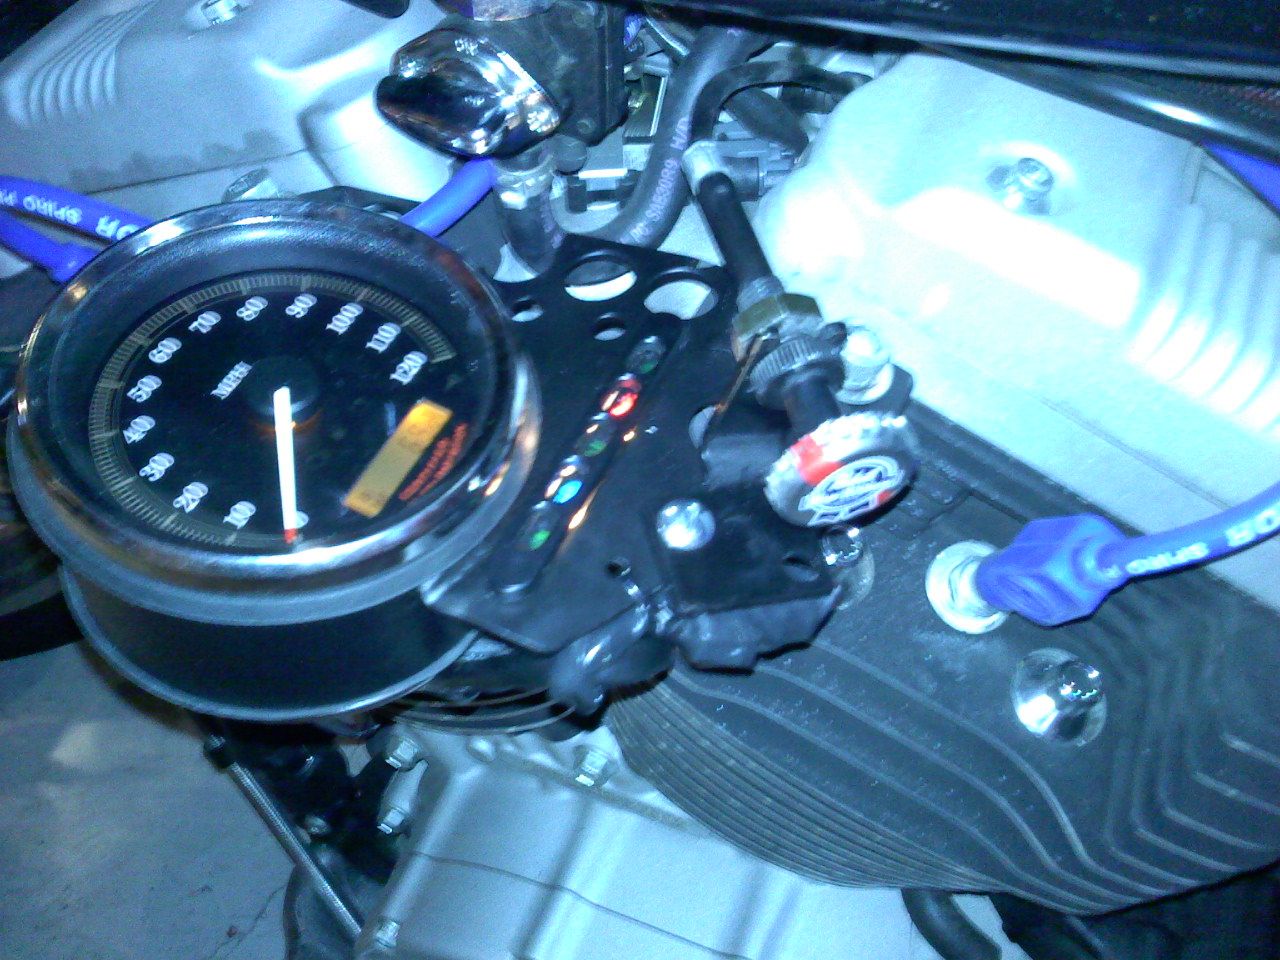
| Grind out a hole big enough to fit the wiring |
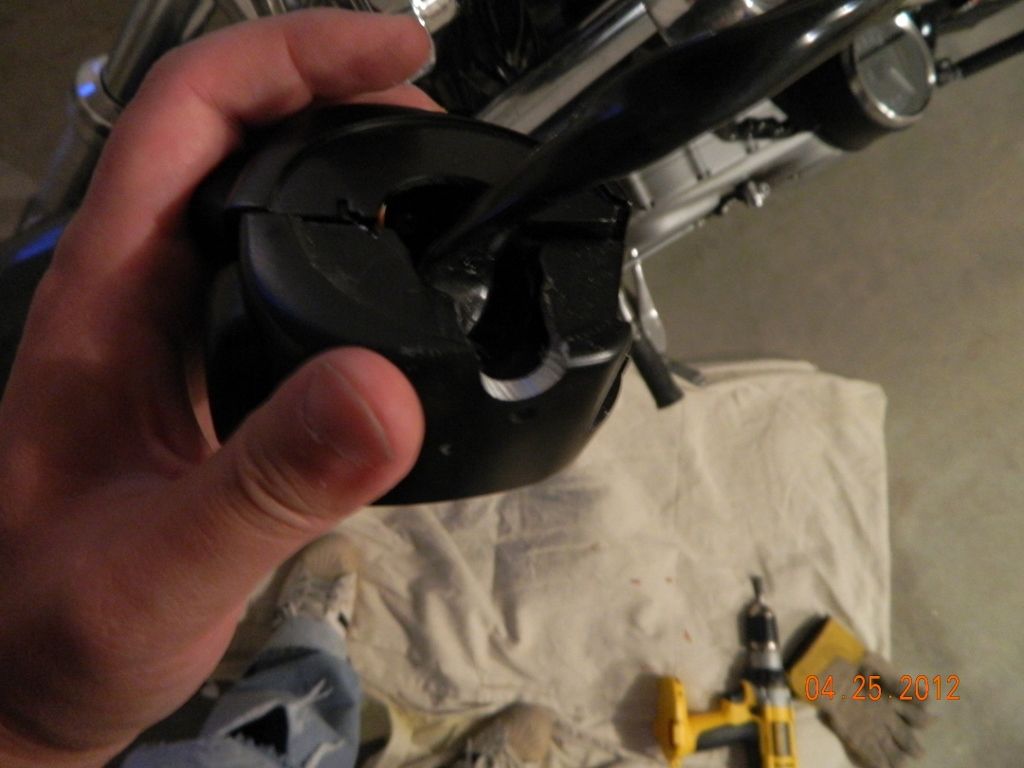 |
| Be sure to smooth out the rough edges |
 |
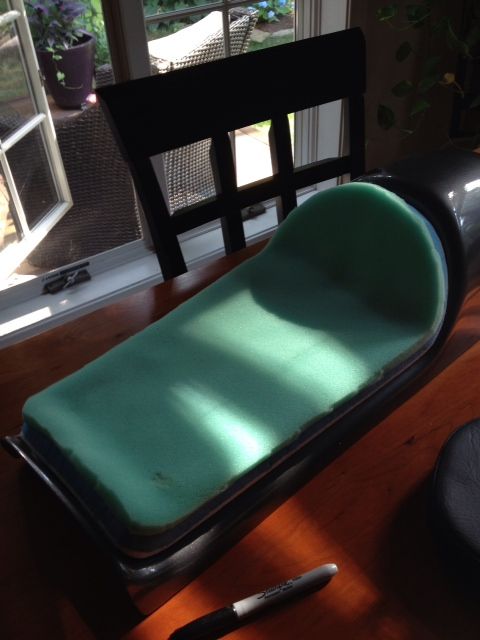
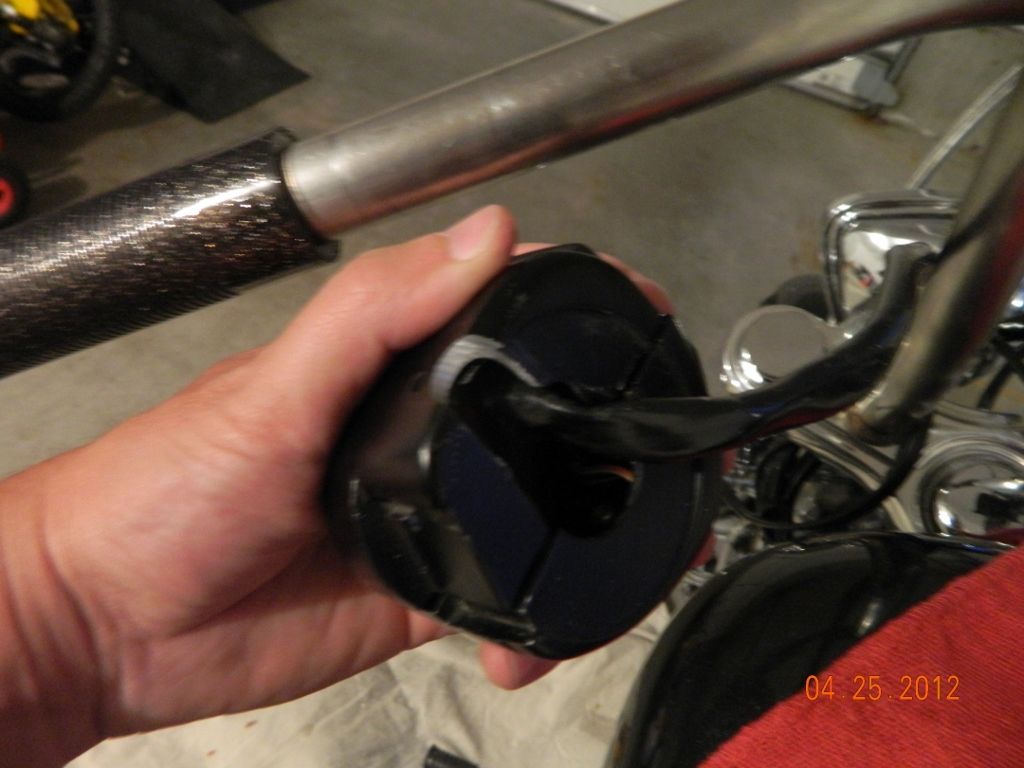
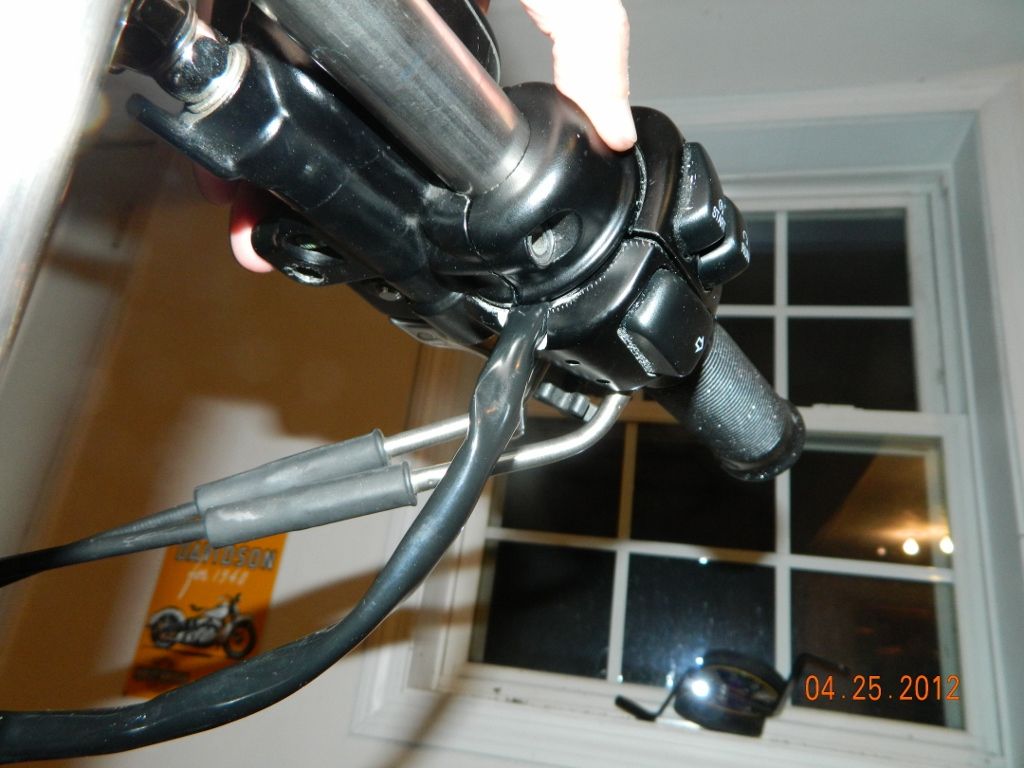
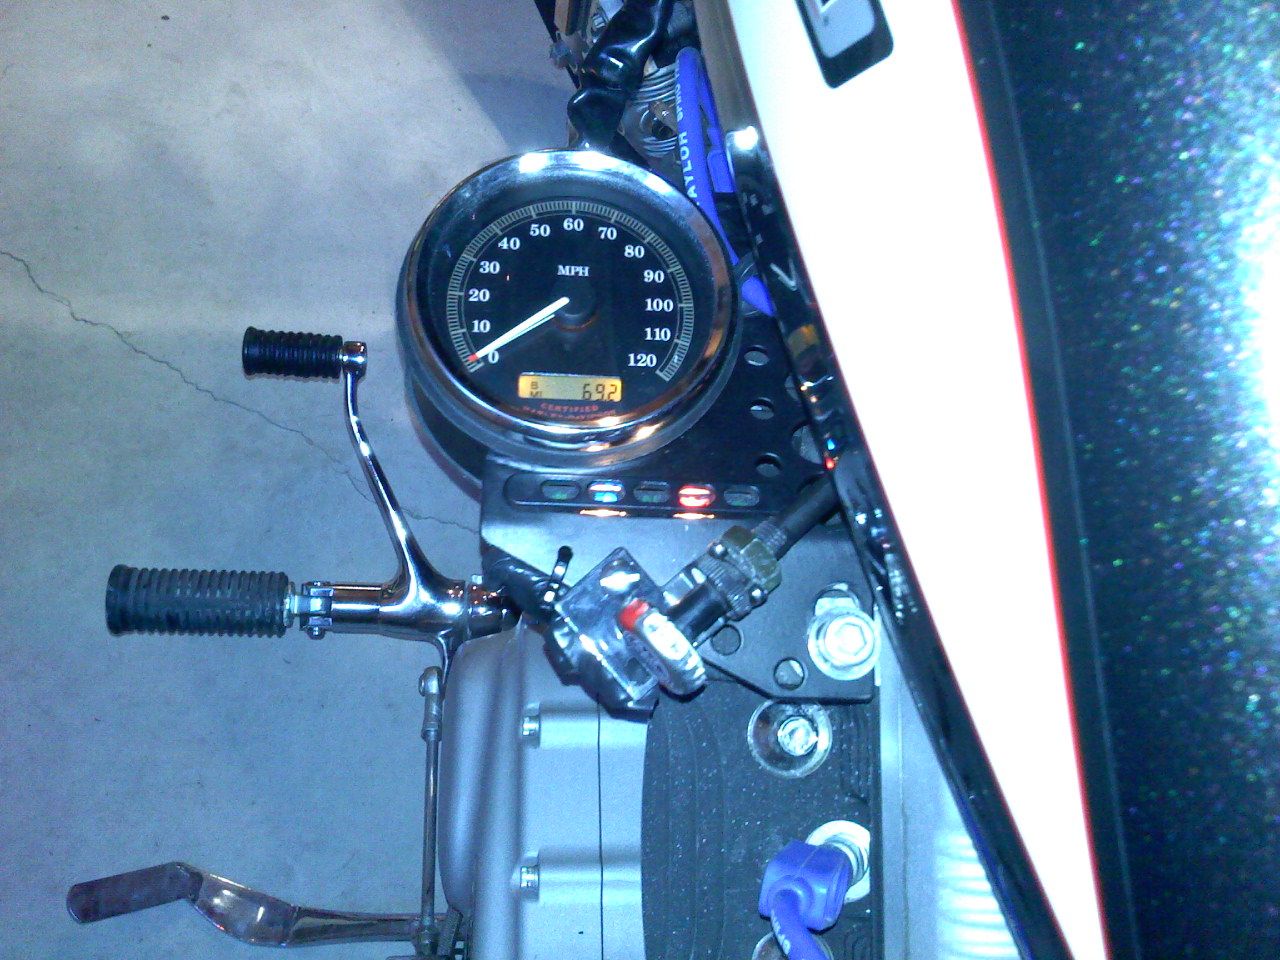
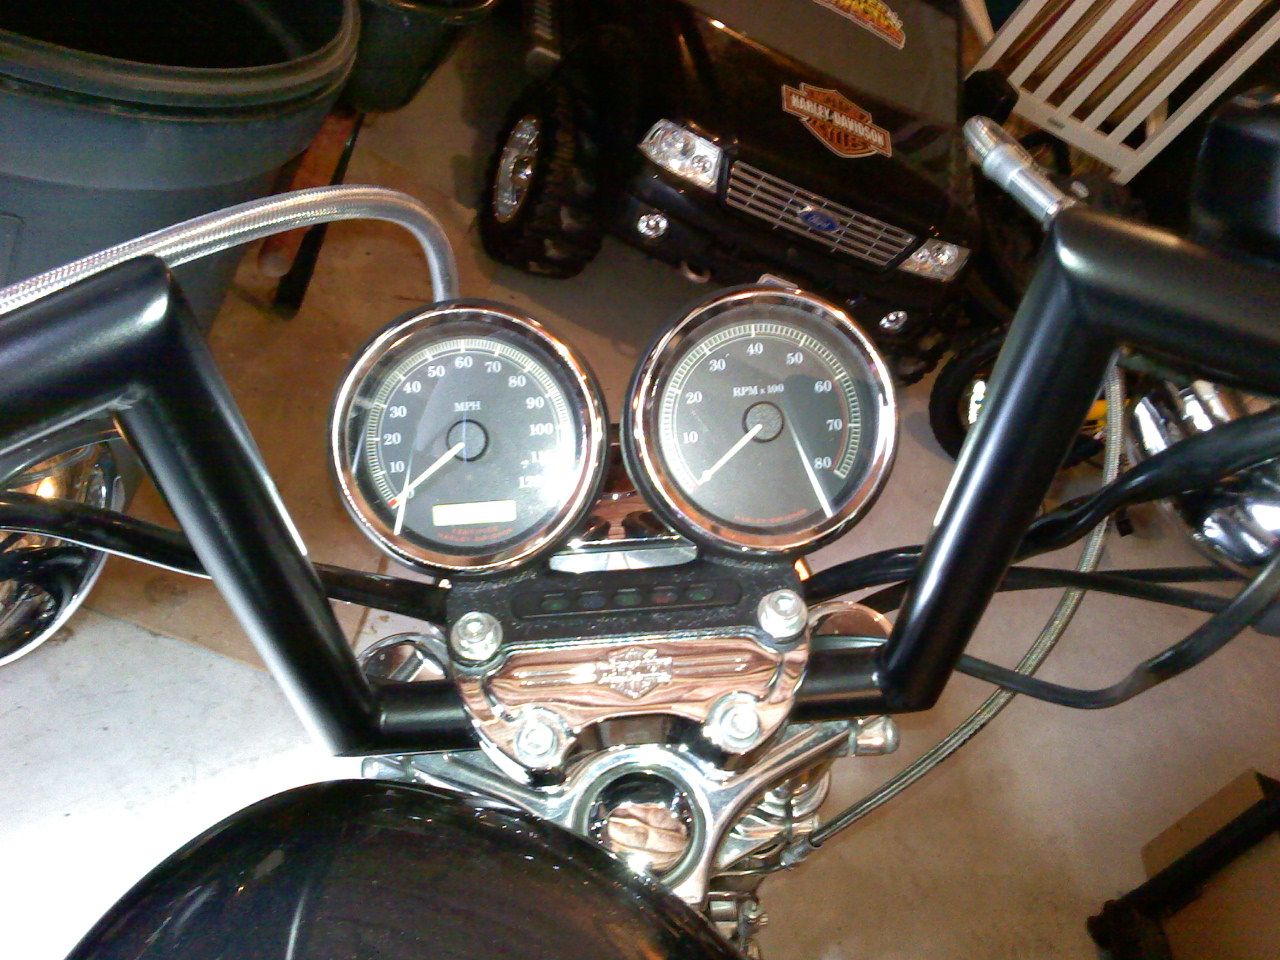
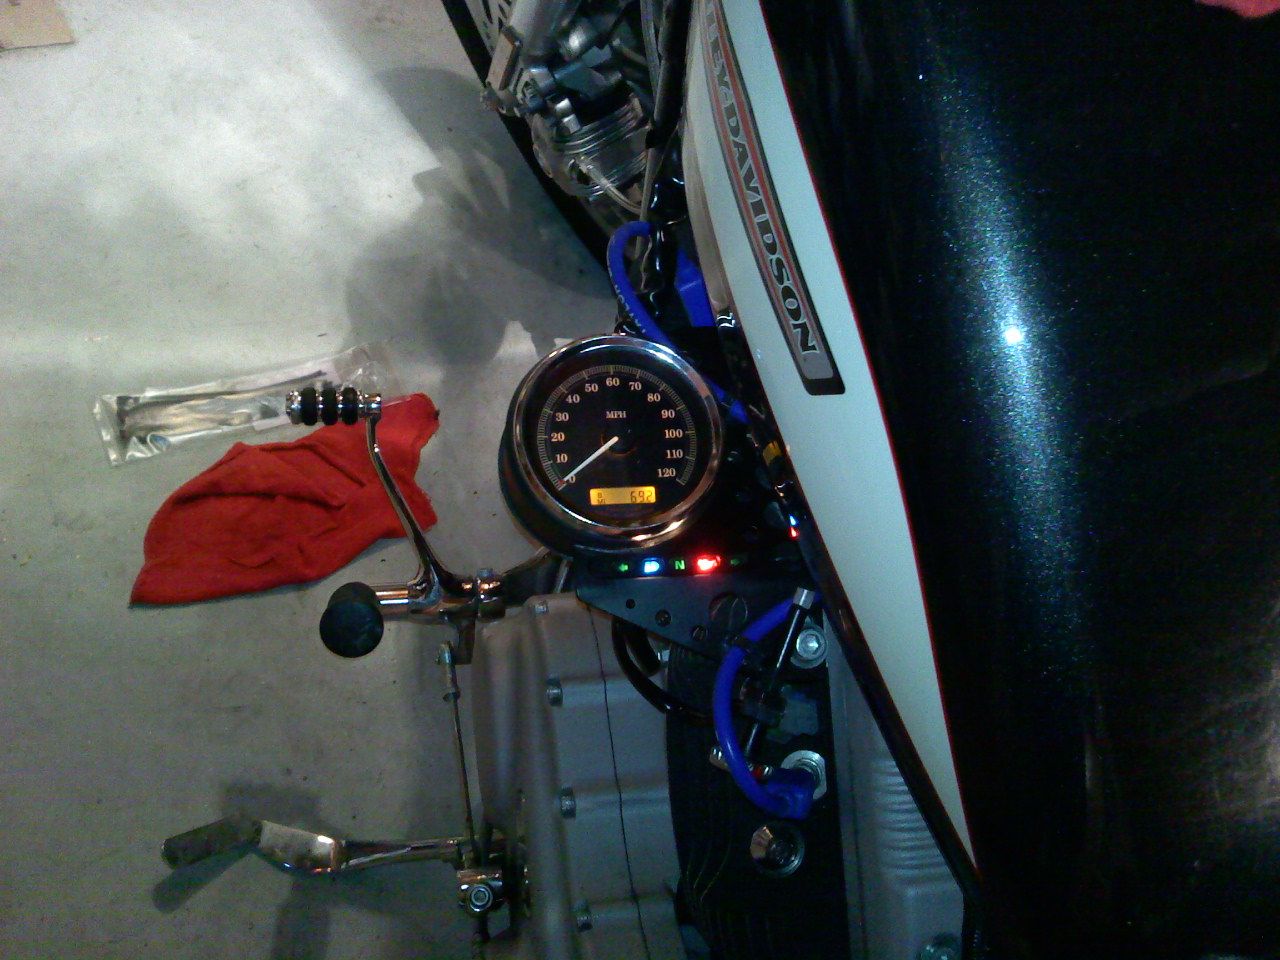
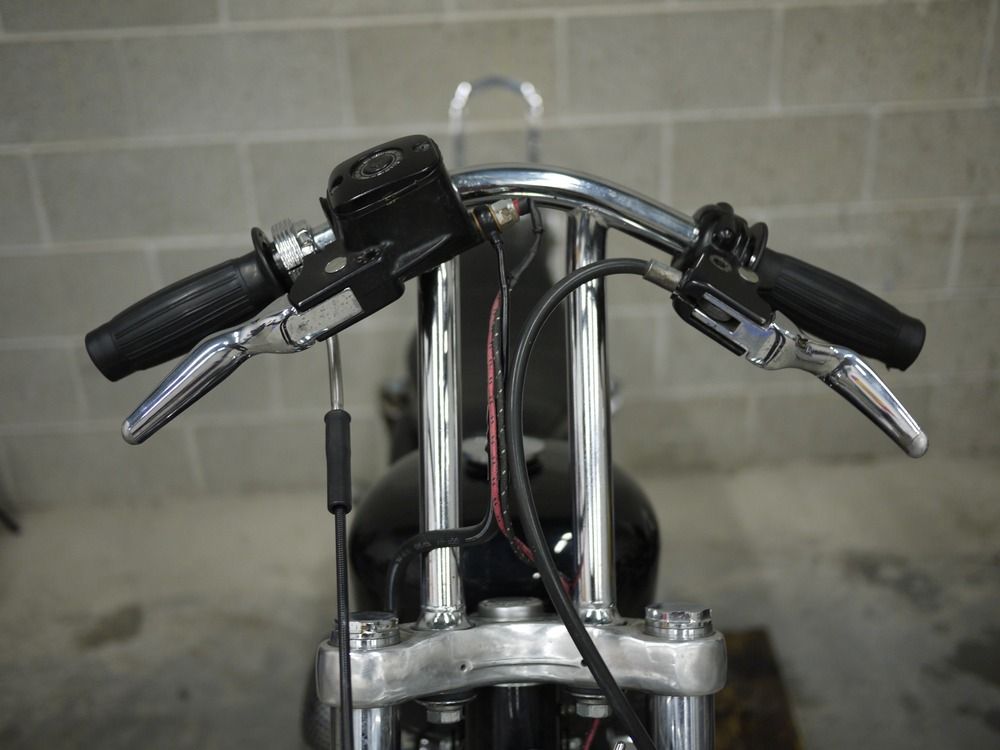
| Housing and clutch attached, and room for the wires to run through |
 |
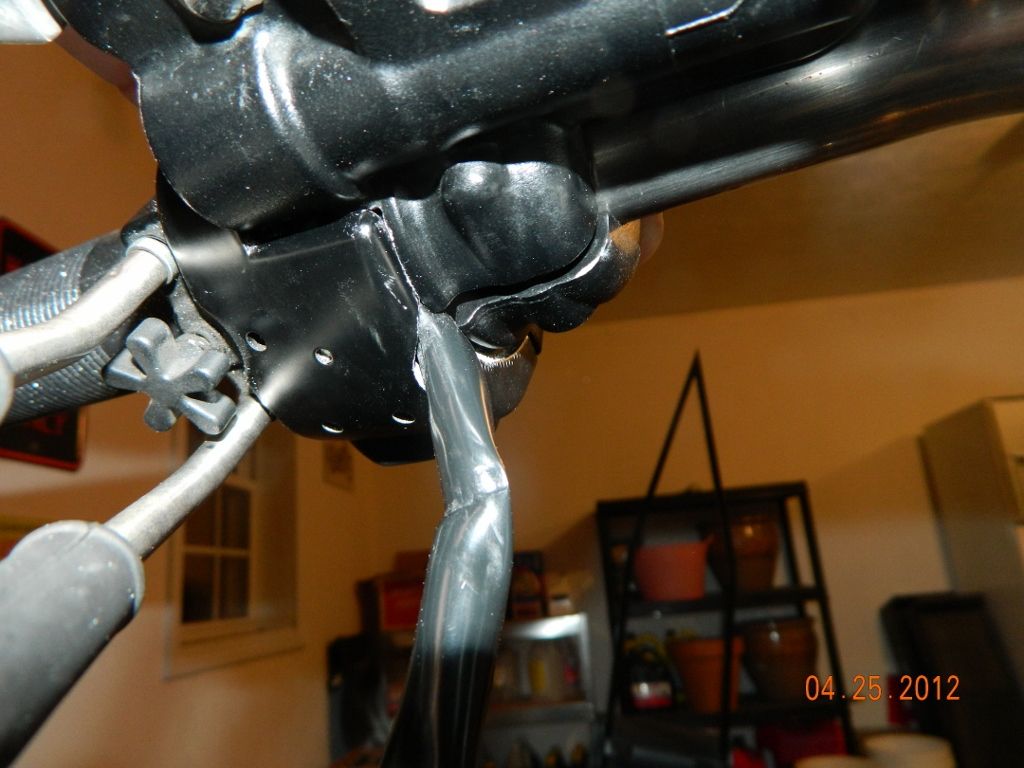
| Repeat the process for the throttle side |
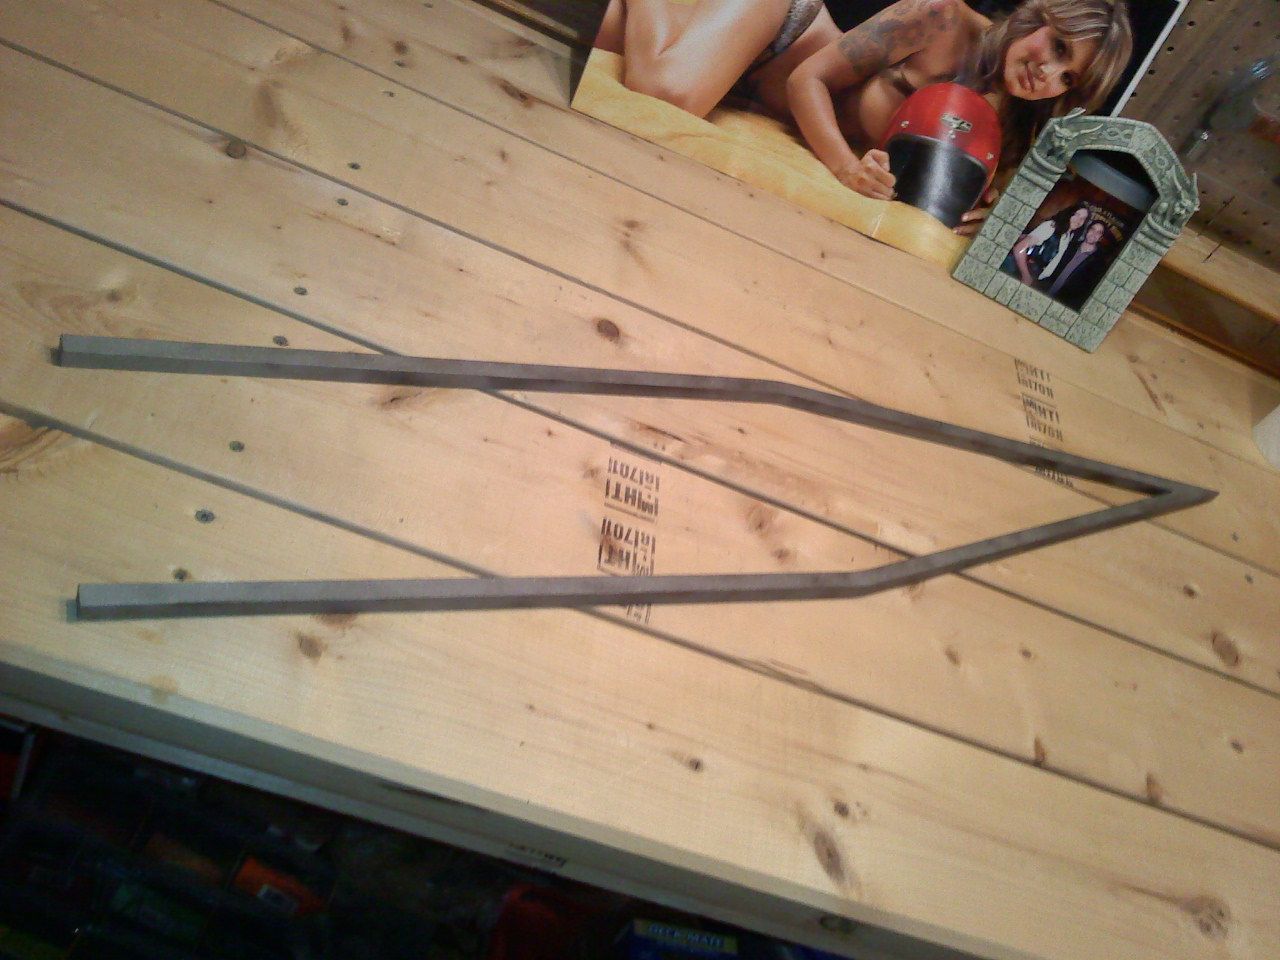
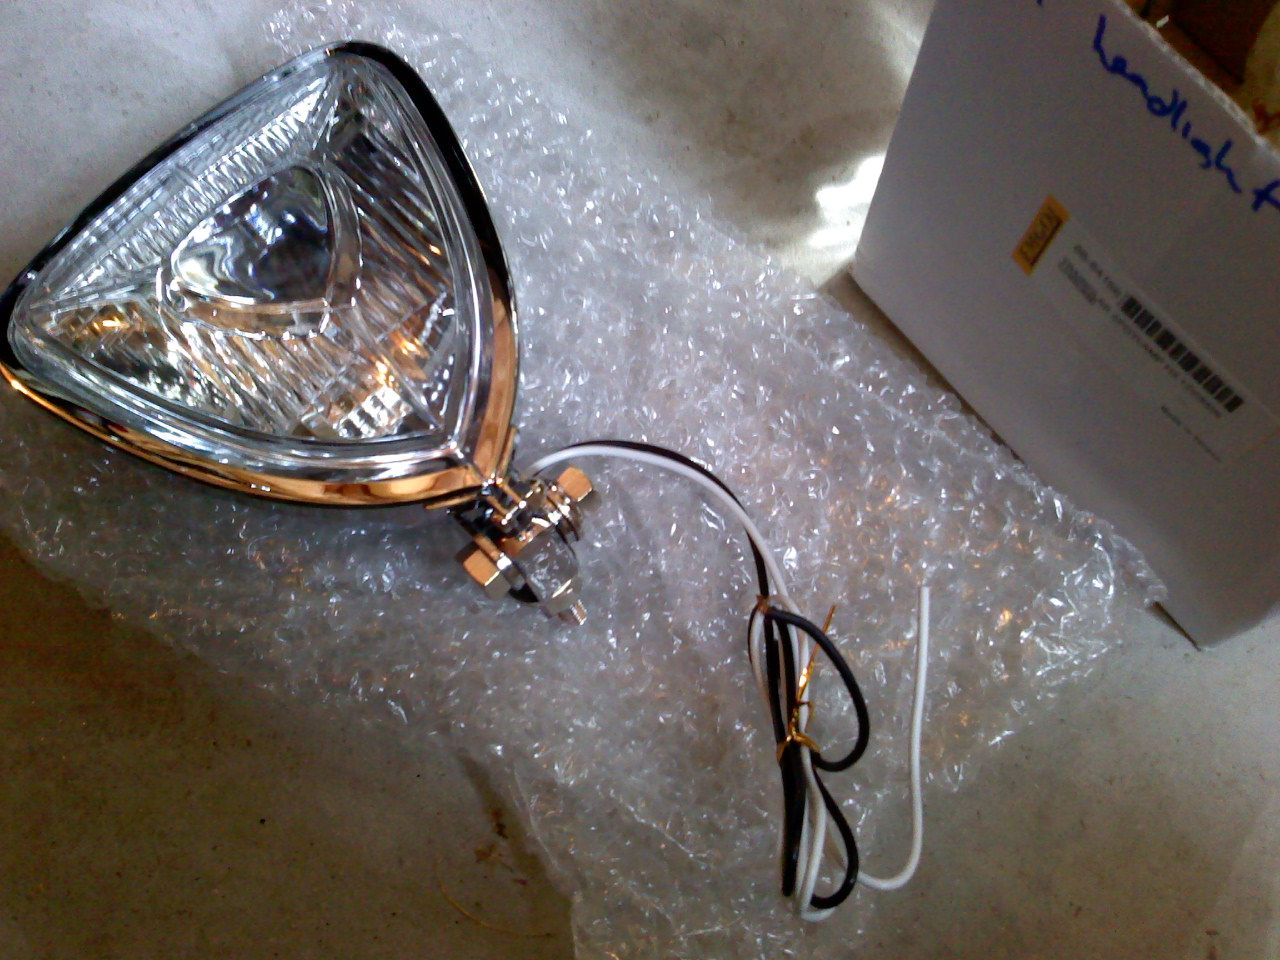
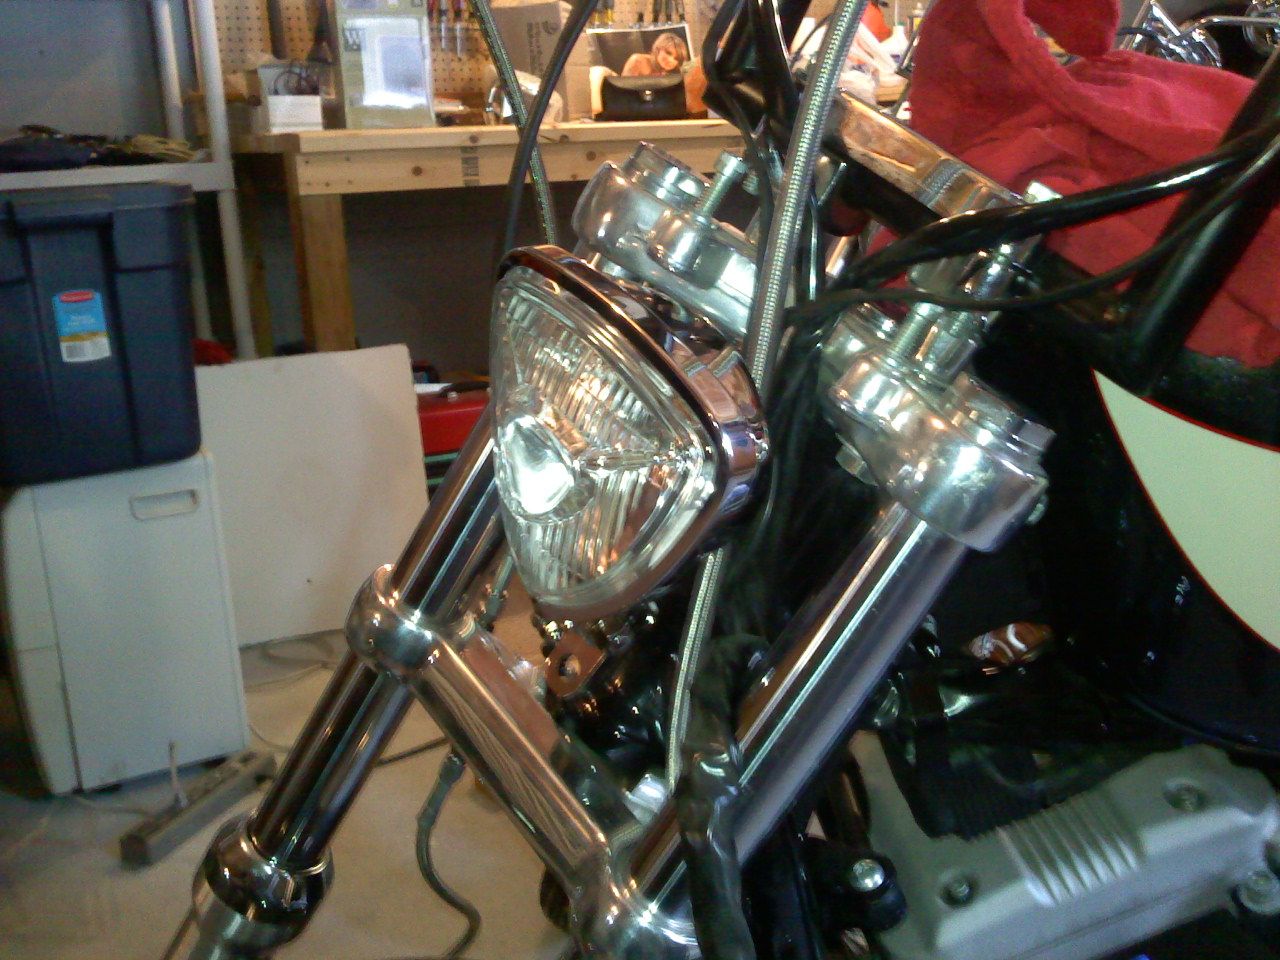
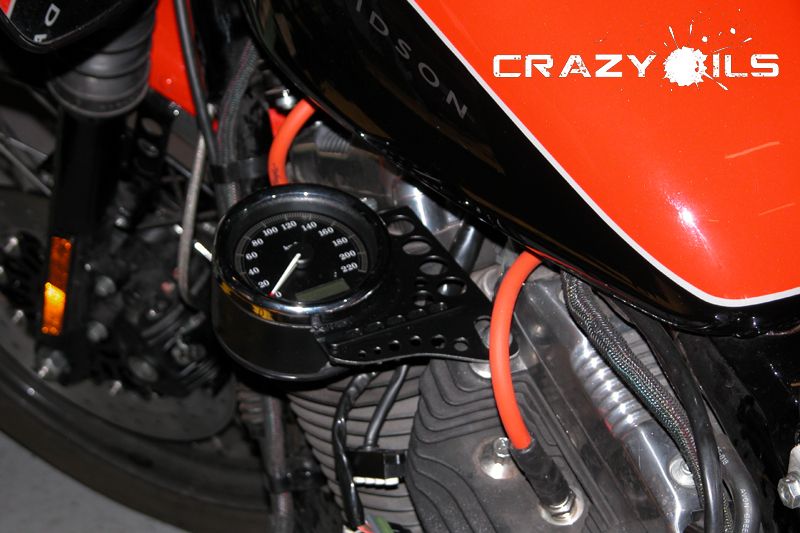
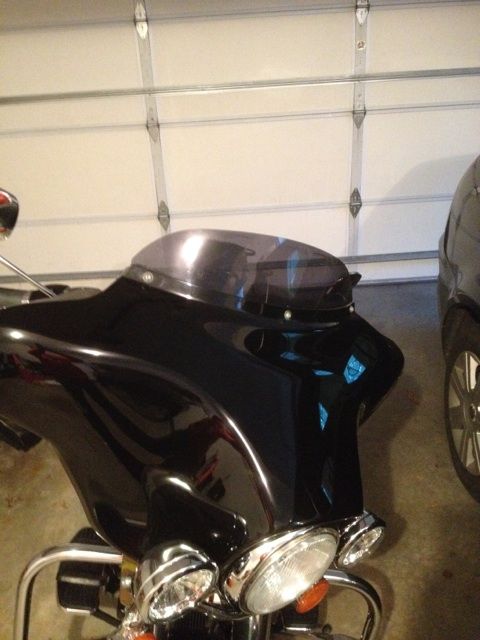
 This was done at my pal Hammer's place of business. He delivered it tonight, and I owe him big. This will be a nice touch to the 1200.
 Being home (sick with the rest of the family) allowed me some time to work on the small, quick bike projects. I've been procrastinating.
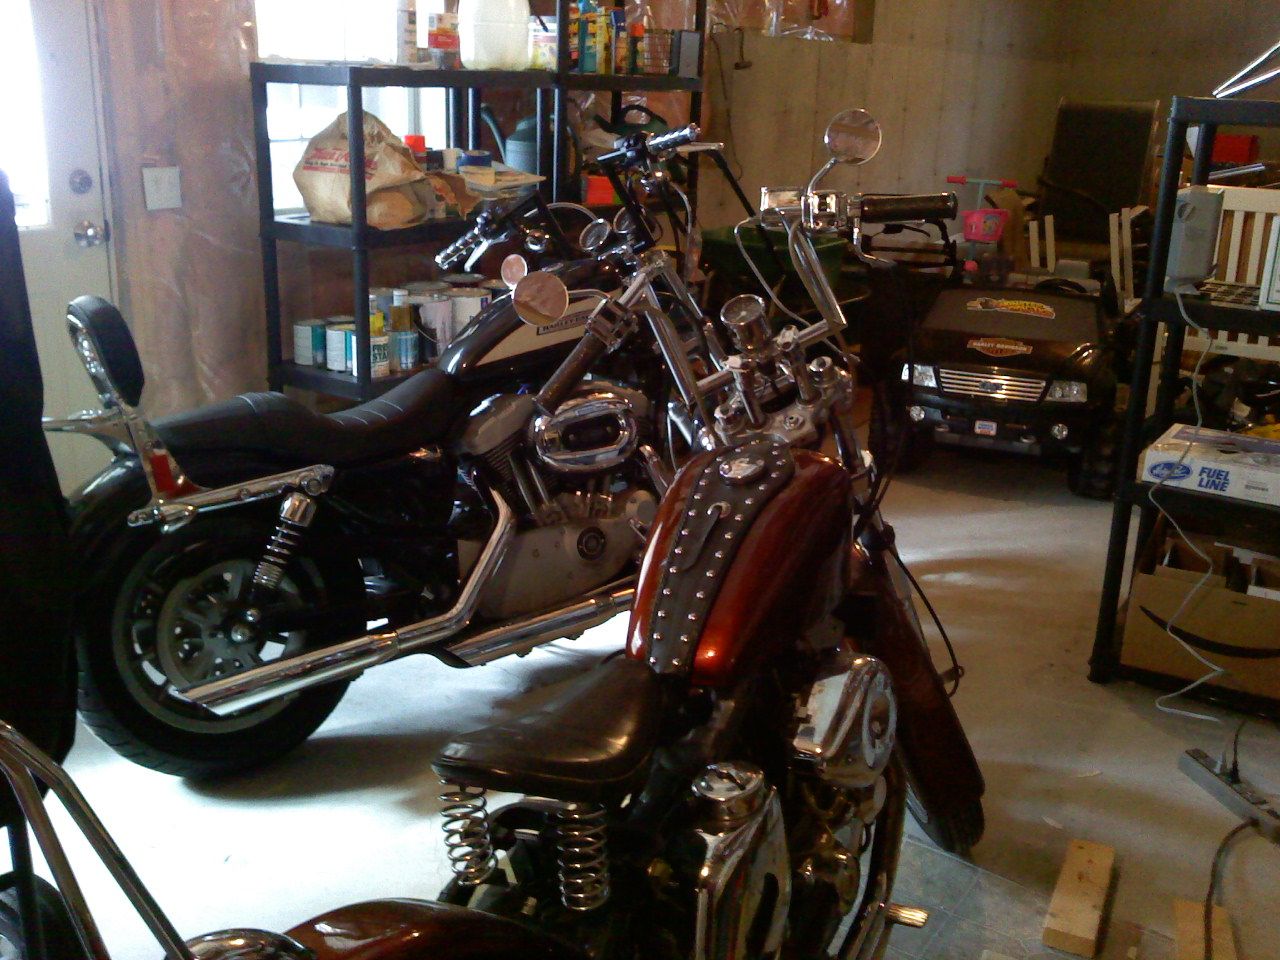
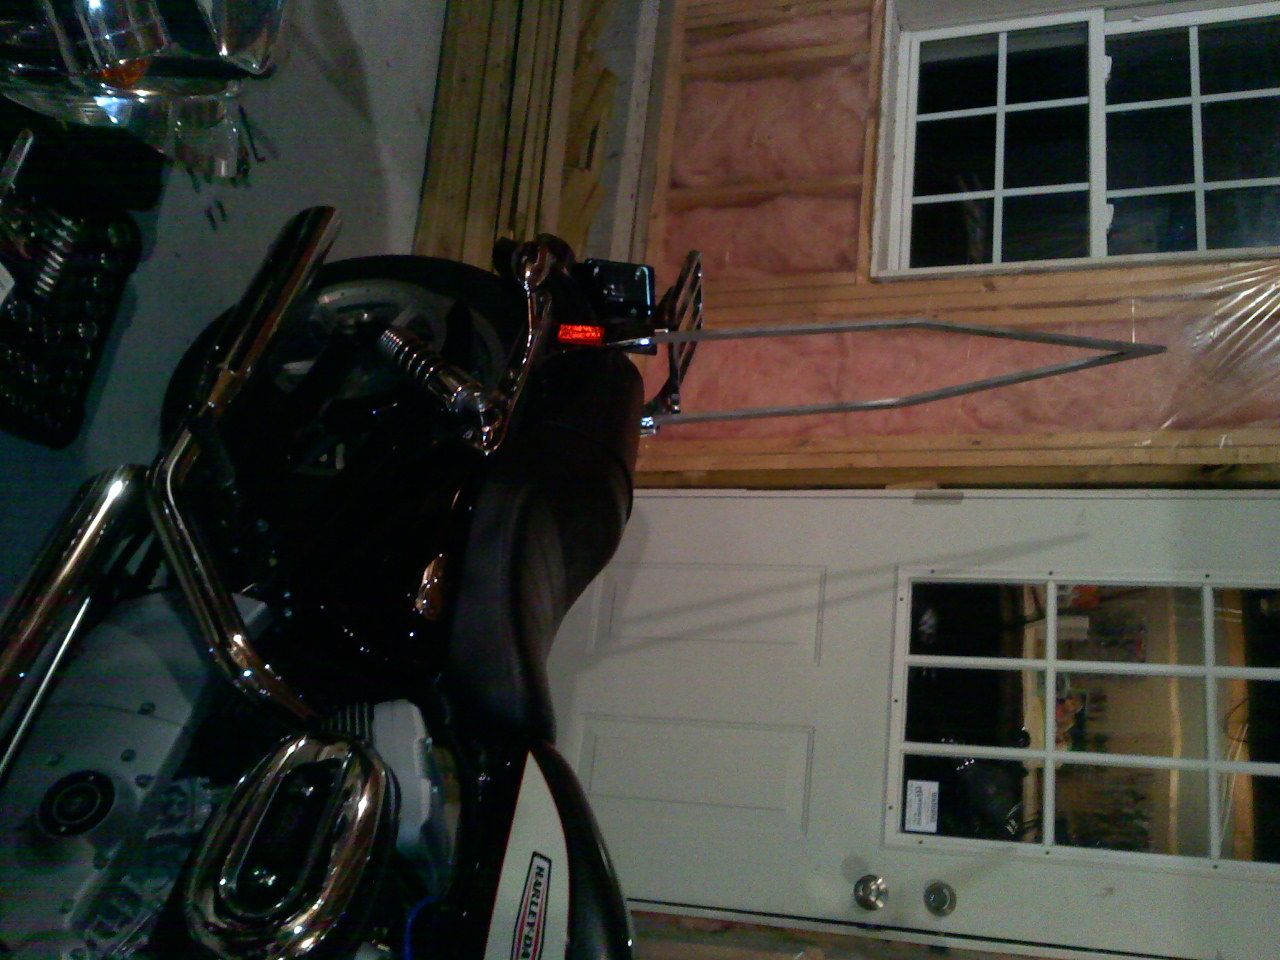
 |
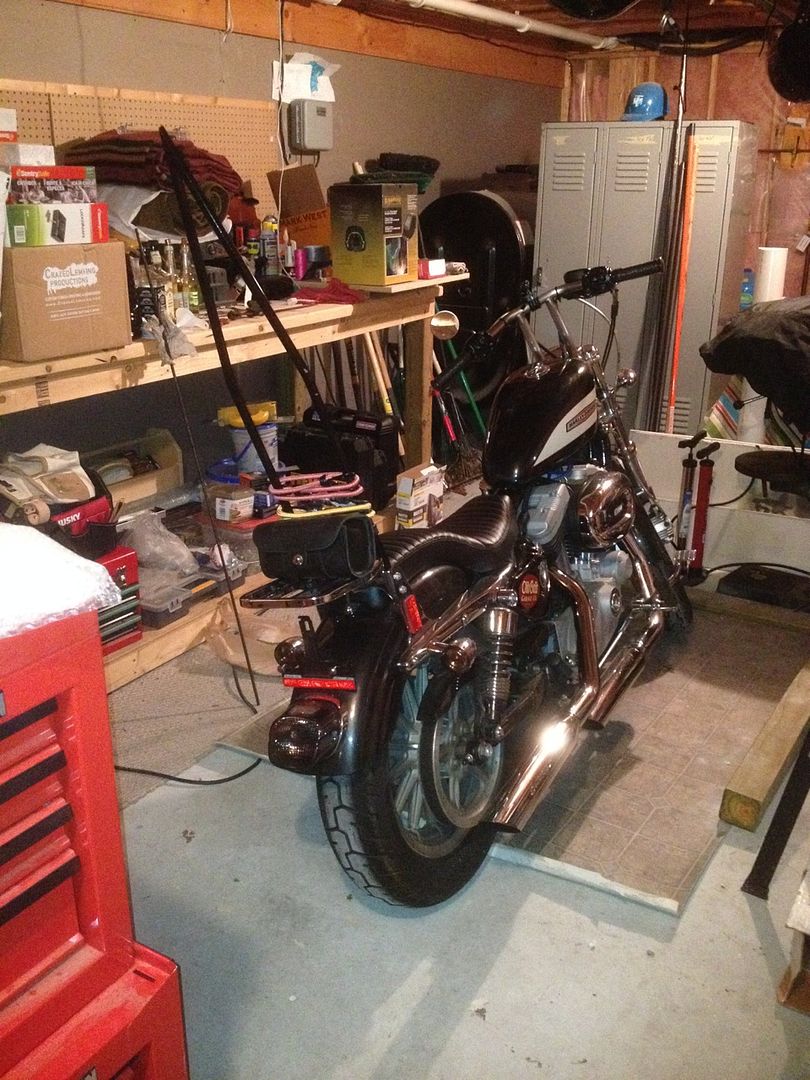
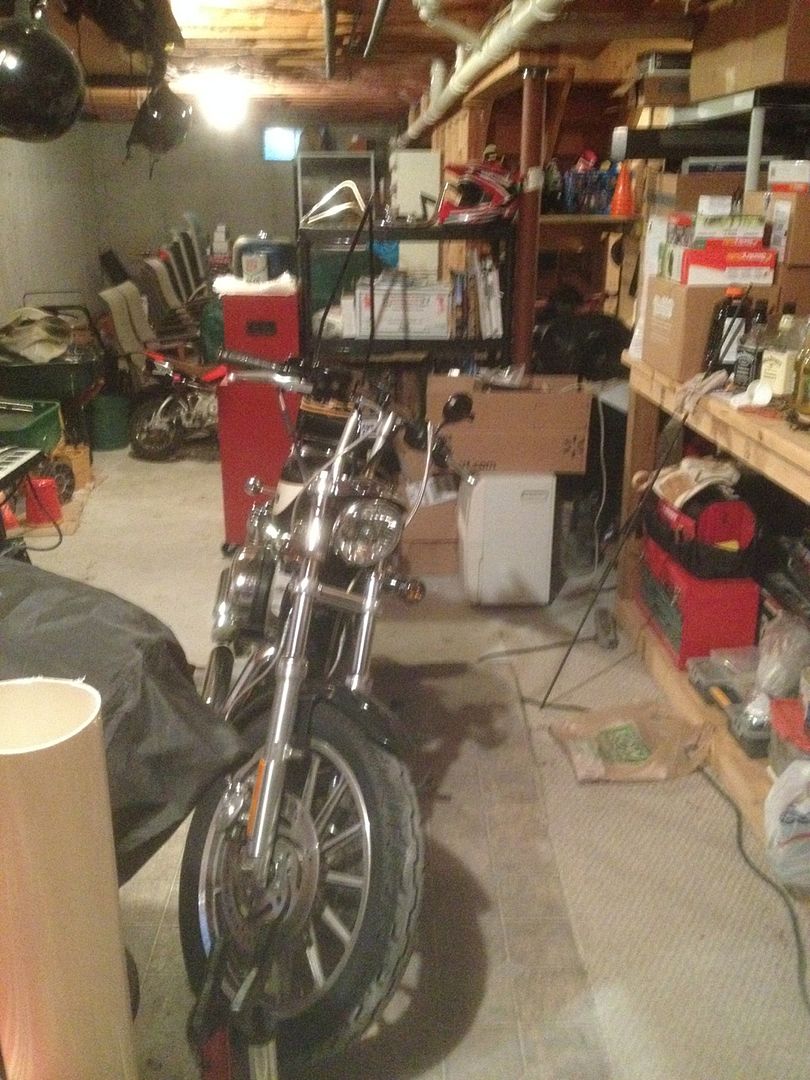
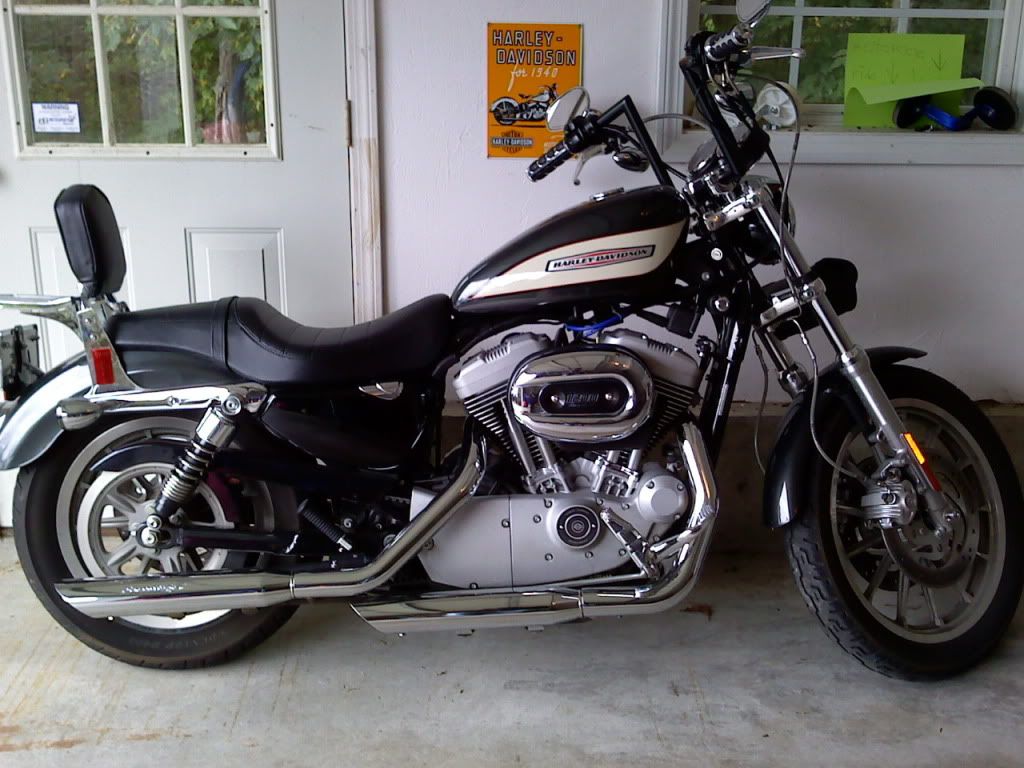
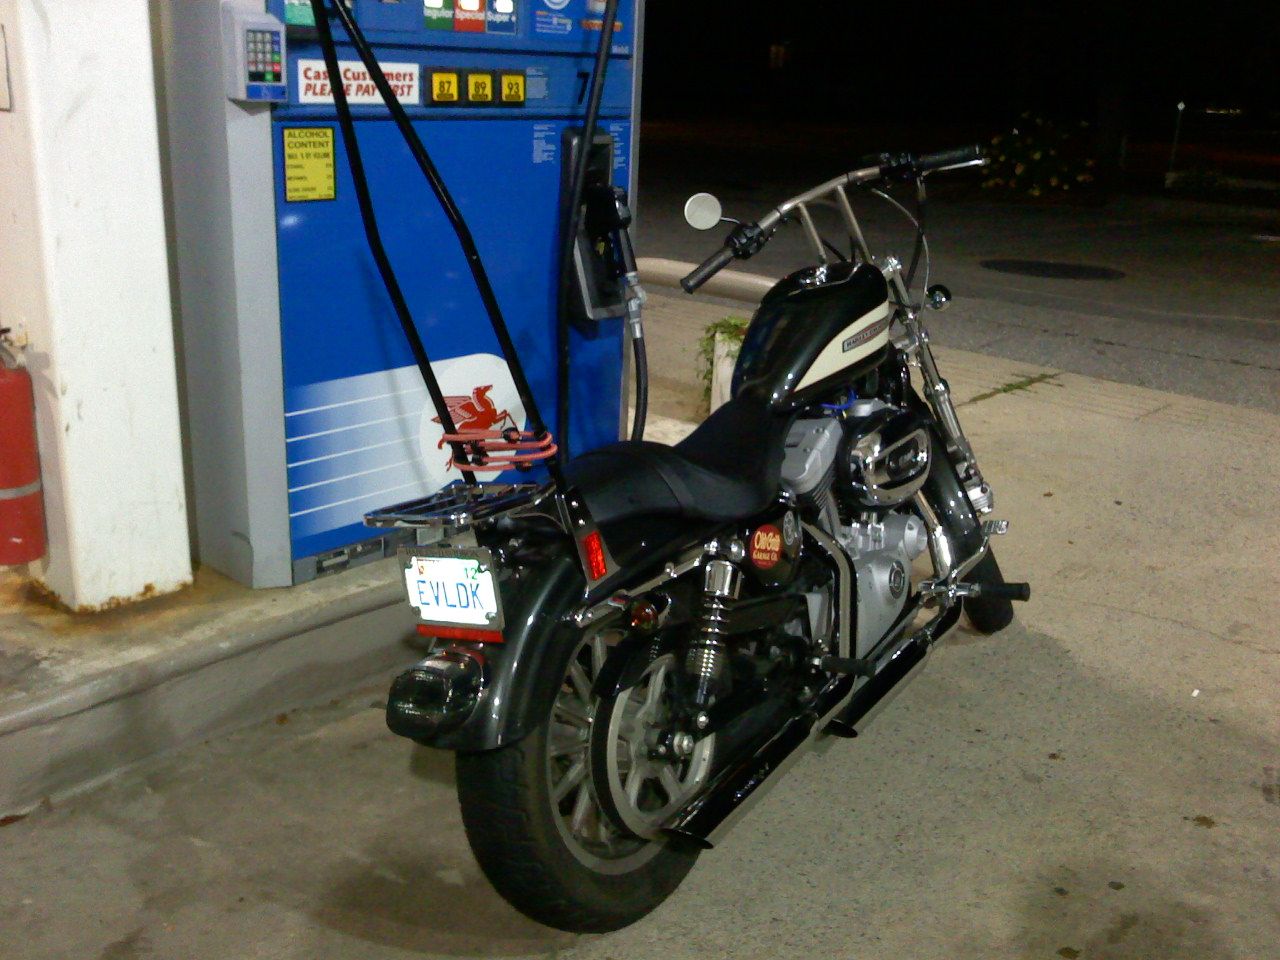
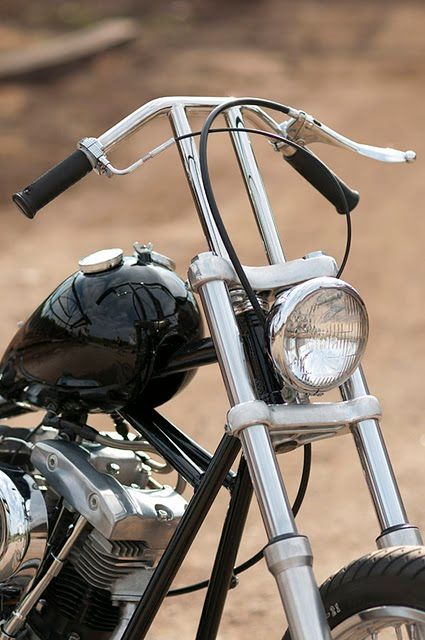 T-BARS T-BARS |
|
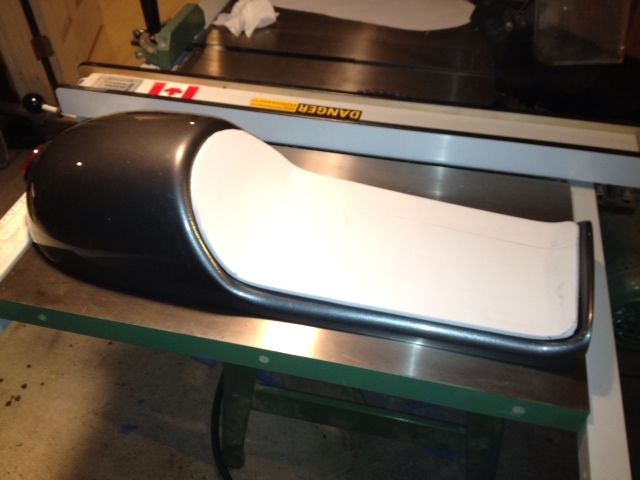
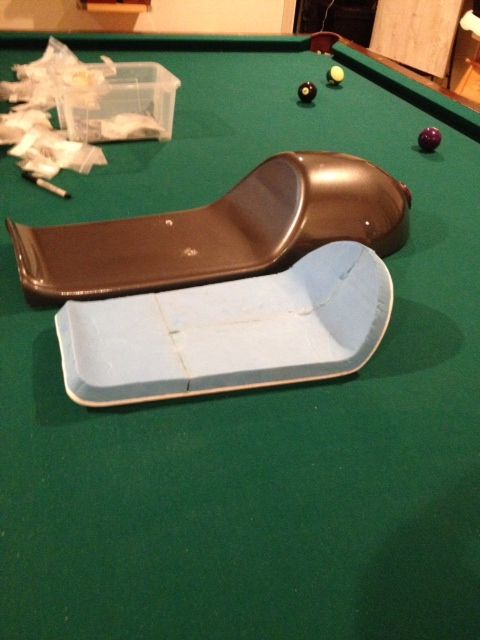
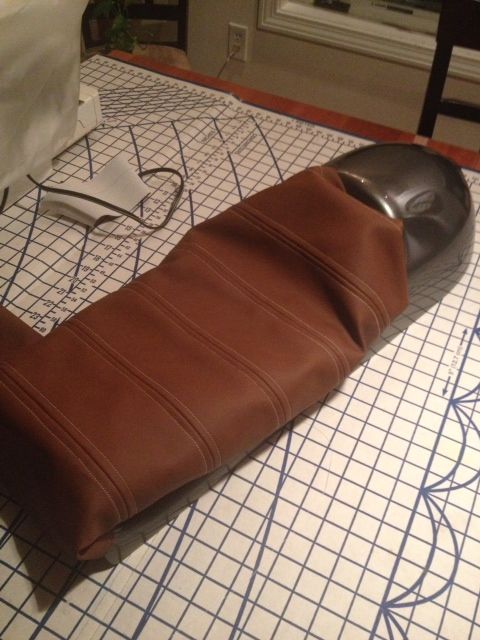
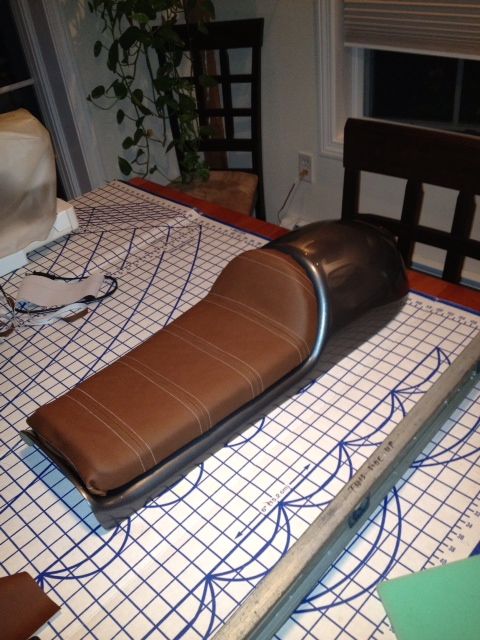
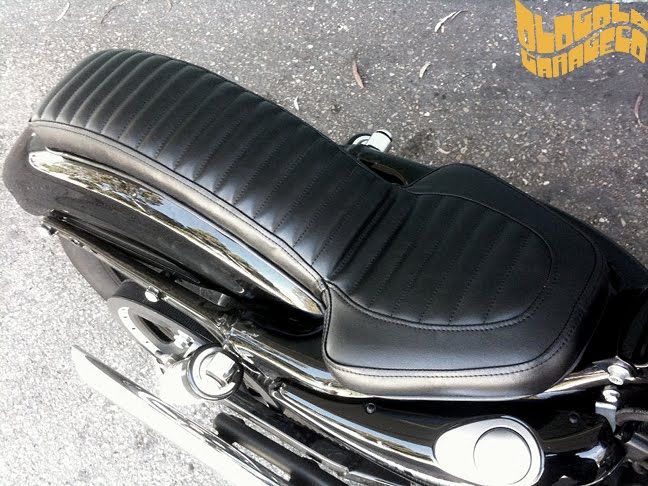
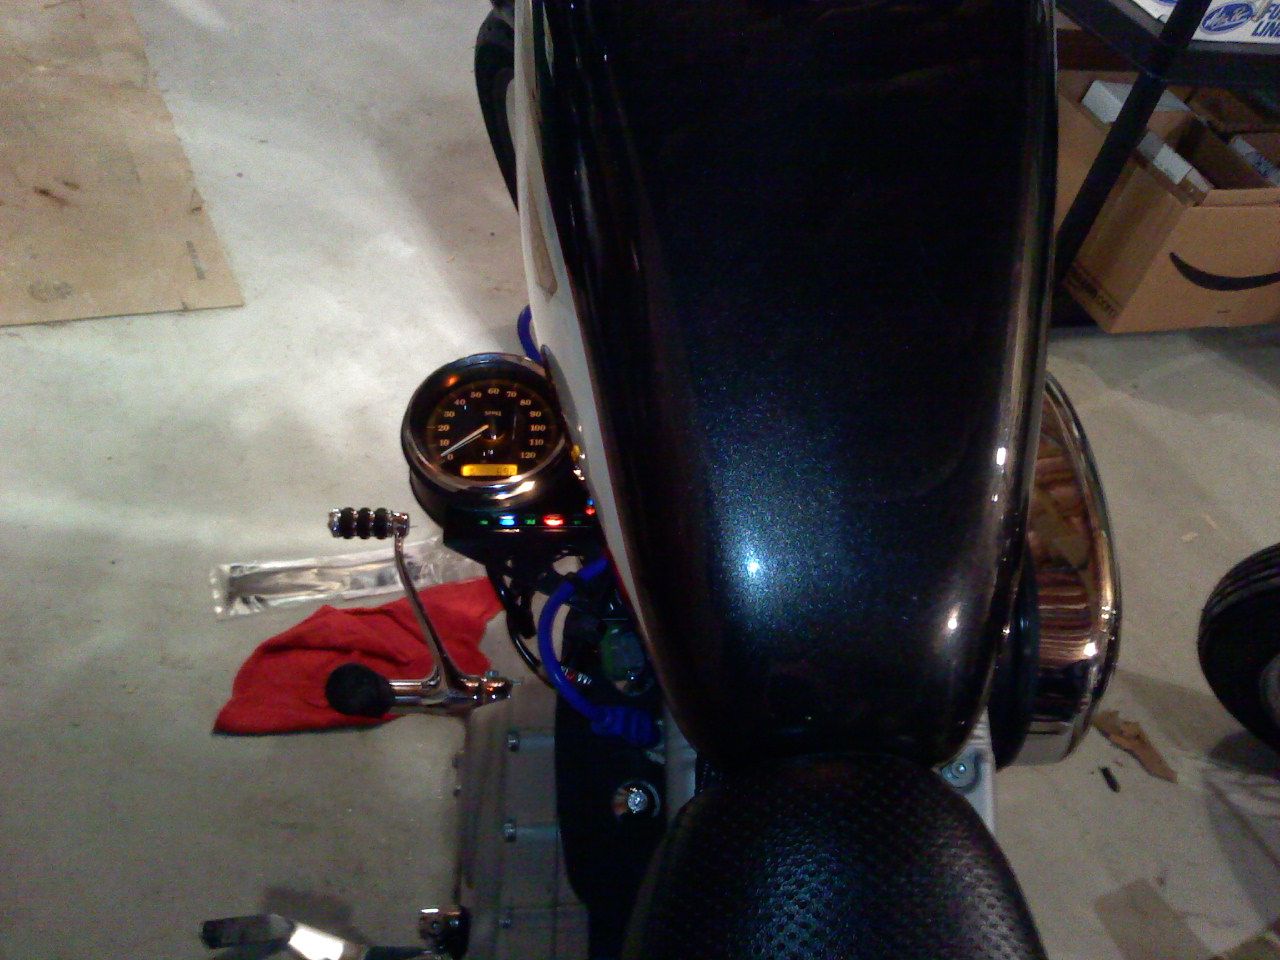
| COBRA 2-UP SEAT THAT FITS SWINGARM |
 |
 |
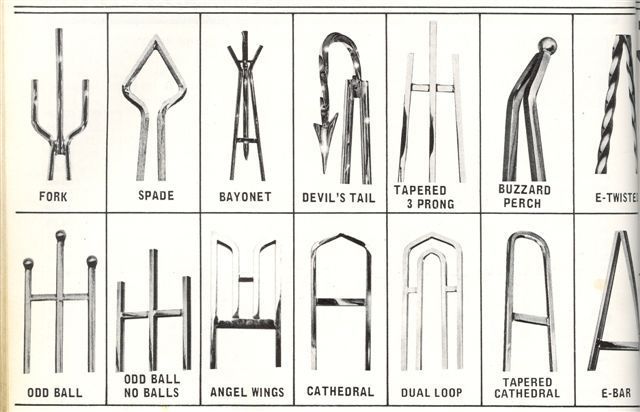
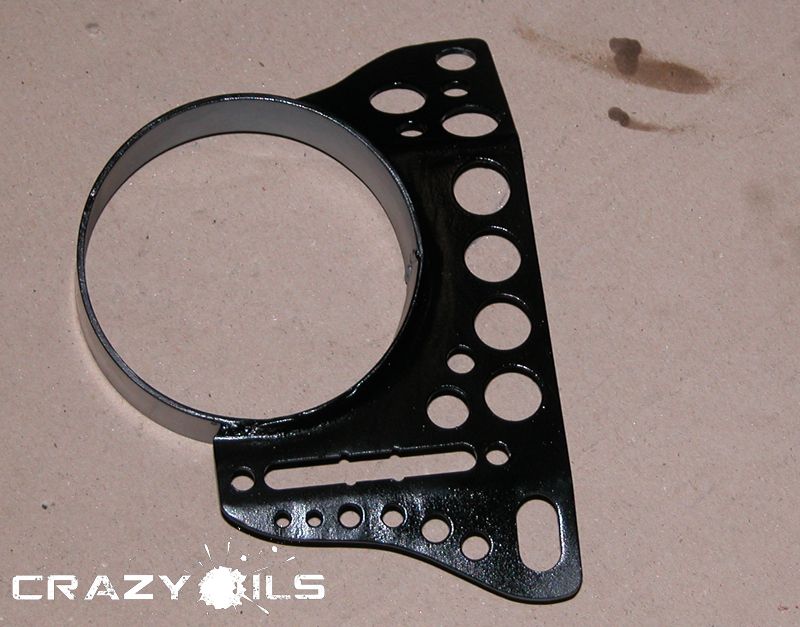
| I HAVE THE SIDE MOUNT!!, BY CRAZYOILS |


